Unlock Instant Delight: Crafting Your Own Homemade Peanut Butter Magic Shell
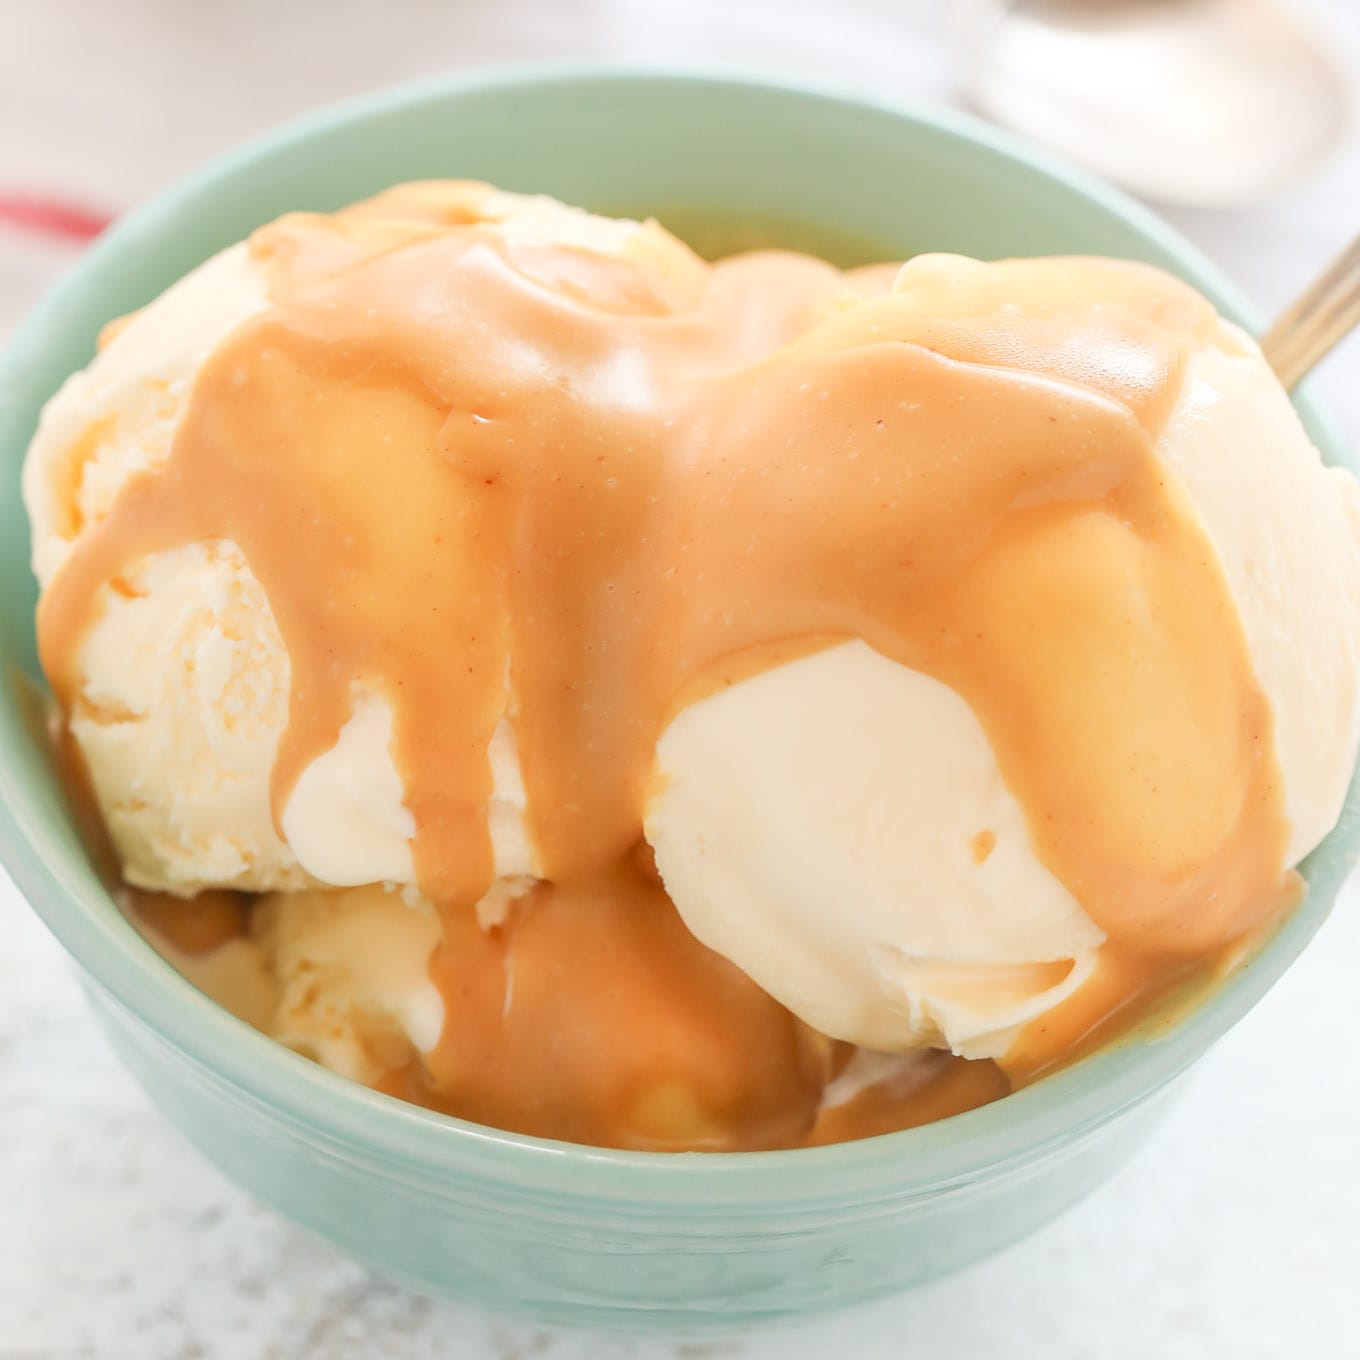
Imagine this: a scoop of your favorite vanilla bean ice cream, a swirl of luscious peanut butter topping, and then—*crack!*—a satisfying snap as your spoon breaks through a perfectly hardened shell. Sound like a dream? It's not! Thanks to the simple magic of a homemade peanut butter magic shell, this delightful experience can be yours in minutes, with just a handful of natural ingredients you likely already have on hand. Move over, store-bought chocolate versions; there's a new, nutty, and irresistibly crunchy contender in town!
For years, chocolate magic shell has reigned supreme as the go-to instant hardening topping. But for those who cherish the rich, creamy, and slightly salty notes of peanut butter, a homemade version offers an unparalleled indulgence. This DIY delight transforms your ordinary desserts into extraordinary treats, delivering that signature instant set and delightful crunch that makes every bite an adventure. Whether you're a long-time fan of peanut butter and chocolate pairings or simply looking for a new, exciting way to elevate your desserts, our guide to creating your own natural peanut butter magic shell is about to become your new favorite secret weapon.
Why Go DIY with Your Peanut Butter Magic Shell?
The allure of a homemade peanut butter magic shell extends far beyond its delicious taste. There are compelling reasons why crafting this topping yourself is a game-changer for any dessert enthusiast:
- Pure, Natural Ingredients: Unlike many store-bought toppings that might contain artificial flavors, preservatives, or high-fructose corn syrup, your homemade version uses just a few wholesome ingredients. You control what goes in, ensuring a clean and natural treat for your family.
- Unbeatable Flavor: Freshly made, this peanut butter ice cream topping offers a depth of flavor that's hard to replicate. The creamy, nutty essence of real peanut butter shines through, creating a more authentic and satisfying taste experience.
- Customization is Key: Love it sweeter? Prefer a hint of salt? Want a touch of vanilla? When you make it yourself, you can adjust the sweetness, saltiness, and even introduce additional flavor notes to perfectly match your palate. This level of personalization is impossible with pre-made products.
- Effortlessly Easy: Seriously, this recipe is so simple it feels like cheating. With just three ingredients and a microwave, you'll have a batch of magic shell ready in minutes. It's the ideal solution for last-minute dessert upgrades or when unexpected guests arrive. For more quick ideas, check out our guide on Easy 3-Ingredient Peanut Butter Magic Shell for Ice Cream.
- The Signature "Magic" Crunch: There's something undeniably fun about a topping that hardens instantly upon contact with cold surfaces. This creates that unique, satisfying crack when you dig in, adding an exciting textural dimension to your desserts.
The Simple Science: Unpacking the Ingredients for Instant Hardening
The magic behind this incredible topping lies in the synergistic relationship between just a few key ingredients. You only need two or three pantry staples to achieve that instant set and delectable crunch:
- Peanut Butter: The star of our show! Any creamy peanut butter will work beautifully. For the best flavor and texture, we recommend using a good quality, natural creamy peanut butter. While crunchy peanut butter can be used, it might result in a slightly less smooth shell, though some enjoy the extra textural element. Avoid highly processed peanut butters with excessive added sugars or oils, as they might alter the hardening properties.
- Coconut Oil: This is the true "magic" component. Coconut oil is unique because it's a solid at room temperature but melts easily when heated. Crucially, it solidifies very rapidly when it comes into contact with cold surfaces, like ice cream. This rapid solidification is what gives the magic shell its instant hardening effect. Both refined and unrefined coconut oil will work; unrefined offers a subtle coconut aroma and flavor, while refined is virtually flavorless. Choose based on your preference.
- Powdered Sugar (Optional, but Recommended): While technically you can make a two-ingredient version with just peanut butter and coconut oil, adding powdered sugar elevates the flavor profile. Peanut butter and coconut oil alone can be a bit savory for a dessert topping. Powdered sugar introduces a lovely sweetness, balancing the richness of the peanut butter and creating a more traditional dessert experience. It also helps to create a smoother, silkier texture for the shell. You can adjust the amount to your personal taste, starting with about 1/4 cup for 3/4 cup of the mixture.
Whipping Up Your DIY Peanut Butter Magic Shell: A Foolproof Guide
Ready to create some magic? This recipe is so straightforward, you'll wonder why you haven't been making it for years. Here’s how to do it:
- Gather Your Essentials: You'll need a microwave-safe bowl, a whisk, your peanut butter, coconut oil, and powdered sugar (if using).
- Combine and Melt: In your microwave-safe bowl, add the peanut butter and coconut oil. Microwave the mixture in short intervals, typically 20-30 seconds at a time. After each interval, stir well. The goal is to melt the coconut oil and peanut butter until they are completely smooth and well combined. This usually takes about 60-90 seconds in total, depending on your microwave and the amount.
- Sweeten and Whisk: Once the peanut butter and coconut oil are melted and thoroughly mixed, it's time to add the powdered sugar (if desired). Gradually whisk in the powdered sugar until the mixture is beautifully smooth and free of lumps. Taste and adjust the sweetness as needed. Remember, the powdered sugar contributes to both flavor and a slightly smoother finish.
- Prepare for Magic: Your homemade peanut butter magic shell is now ready to use! The texture should be liquid and pourable, like a warm sauce.
Pro Tip: Ensure your ice cream or dessert is well-chilled. The colder the surface, the quicker and more effectively the magic shell will harden!
Unleash the Magic: Creative Ways to Enjoy Your Peanut Butter Topping
While ice cream is the classic canvas for magic shell, don't limit your imagination! This versatile DIY peanut butter magic shell can elevate a wide array of treats:
- Ice Cream Extravaganza: The most obvious choice, and for good reason! Drizzle it over vanilla, chocolate, strawberry, or even a banana ice cream for an instant flavor and texture upgrade.
- Frozen Yogurt Fun: Give your healthier frozen yogurt a decadent touch. The snap of the peanut butter shell provides a fantastic contrast to the creamy froyo.
- Fruit Fantastic: Drizzle over cold sliced bananas, apple wedges, or even berries. The shell hardens beautifully on fruit, turning a simple snack into an elegant dessert.
- Pancake & Waffle Perfection: For a truly indulgent breakfast or brunch, pour this magic shell over a stack of warm pancakes or waffles. It hardens, creating a unique texture alongside the fluffy carbs.
- Cupcake & Cake Glaze: Once your cupcakes or cake have cooled, drizzle the magic shell over them for a quick, hard-setting glaze.
- Frozen Dessert Bars: Dip frozen banana slices, homemade ice cream bars, or even store-bought ice cream sandwiches into the magic shell for an instant coating.
- Yogurt Parfait Power-Up: Layer it into a yogurt parfait. The cold yogurt will set the shell, creating delightful crispy layers.
For more inspiring ways to enjoy this incredible creation, explore The Irresistible Crunch: Homemade Peanut Butter Magic Shell.
Tips for Storage, Reheating, and Customization
One of the best things about this easy homemade peanut butter magic shell is its convenience. A batch typically makes about 3/4 cup, perfect for 4-6 servings, but it's incredibly easy to double or halve the recipe.
- Storing Leftovers: Any leftover magic shell can be stored in an airtight container at room temperature. It will likely solidify, especially if your kitchen is cool. This is completely normal!
- Reheating: To use again, simply microwave the solidified magic shell in 15-second intervals, stirring well after each, until it's liquid and pourable once more. It reheats beautifully without compromising its magical properties.
- Flavor Variations:
- A Hint of Vanilla: Add a 1/2 teaspoon of vanilla extract along with the powdered sugar for an extra layer of warmth and sweetness.
- Sea Salt Swirl: A pinch of flaky sea salt stirred in can enhance the peanut butter flavor and provide a delightful salty-sweet contrast.
- Chocolatey Twist: For the ultimate peanut butter-chocolate lover, stir in a tablespoon or two of melted dark or semi-sweet chocolate with the peanut butter and coconut oil for a marbled or richer flavor.
- Spice It Up: A tiny pinch of cinnamon or nutmeg can add an unexpected depth, especially if pairing with apple desserts.
Conclusion
Say goodbye to bland toppings and embrace the fun, flavor, and incredible ease of a homemade peanut butter magic shell. With just three natural ingredients and a quick trip to the microwave, you can transform ordinary desserts into extraordinary experiences that delight both young and old. The satisfying crack, the rich nutty flavor, and the pure joy of knowing exactly what goes into your treats make this DIY magic shell a recipe you'll revisit again and again. So go ahead, whip up a batch, get creative with your serving ideas, and prepare to fall in love with the magic!
